Using the Claude Code TUI
- 1 Installing Claude Code
- 2 Using the Claude Code TUI
- 3 CLAUDE.md and Settings
- 4 Skills, Agents, and MCP Servers
- 5 Hooks
- 6 Plugins and Marketplaces
- 7 Agent Teams
- 8 Connecting to Other Providers
Introduction
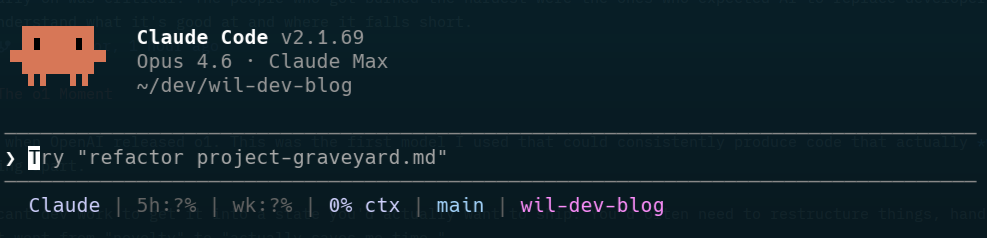
Claude Code isn’t a chat window bolted onto your editor — it’s a full terminal user interface (TUI) that lives in your shell. If you haven’t installed it yet, start with Installing Claude Code.
This guide walks through everything you need to know to use it effectively day-to-day: how to launch it, the three operating modes, keyboard shortcuts, slash commands, and the permission system that keeps it from doing anything you don’t want.
Launching Claude Code
There are three ways to start Claude Code depending on what you need:
Interactive mode — opens the TUI for a back-and-forth conversation:
With an initial prompt — opens the TUI and immediately sends your message:
Print mode — runs a single prompt, prints the result, and exits. No TUI, just stdout. Great for scripting:
The Three Modes
Claude Code has three operating modes that control how much autonomy you give it. You cycle through them with Shift+Tab.
Normal Mode (Default)
The default mode. Claude reads files freely but asks for your permission before modifying files, running commands, or taking any action that changes state. You approve or deny each action as it comes up.
Auto-Accept Mode
Press Shift+Tab once to enter auto-accept mode. Claude will automatically approve file edits without asking, but it will still prompt you for most commands that you don’t have auto-approve rules for — and gives you the option to add them on the spot. This is also the mode you’re dropped into by default when you approve a plan.
Plan Mode
Press Shift+Tab again (or use /plan) to enter plan mode. In this mode Claude can only read files and think — it cannot make any changes. Use it when you want Claude to analyse your code and propose a plan without touching anything.
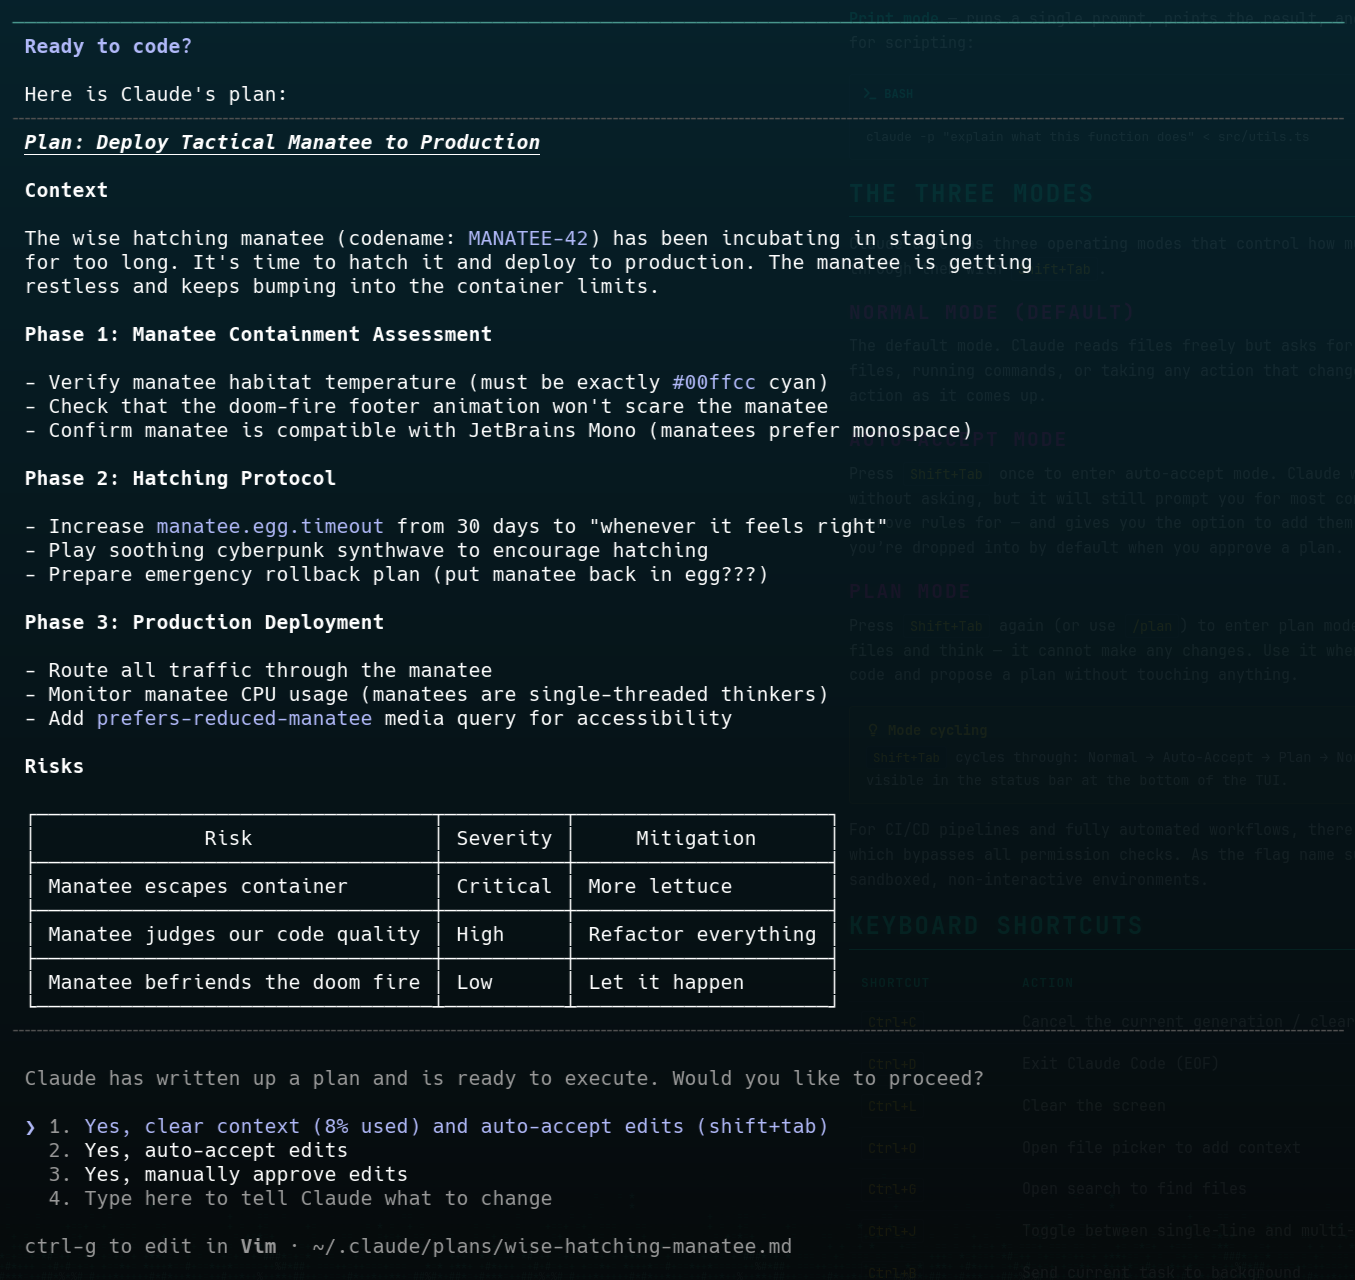
As you can see above, once Claude has a plan you can ask it to make changes or let it loose to implement the whole thing. When it runs the plan it also clears the context window, so you get the full context available for implementation rather than it being filled up with the back-and-forth from planning.
Dangerously Skip Permissions
There’s a fourth mode gated behind a command-line flag: --dangerously-skip-permissions. This disables all permission prompts entirely — Claude will read, write, and execute commands without ever asking for approval.
As the flag name suggests, this is only recommended for sandboxed environments like CI/CD pipelines, Docker containers, or disposable VMs. It won’t prompt for anything, so any command Claude decides to run will execute immediately.
Keyboard Shortcuts
| Shortcut | Action |
|---|---|
Ctrl+C | Cancel the current generation / clear input |
Ctrl+D | Exit Claude Code (EOF) |
Ctrl+L | Clear the screen |
Ctrl+R | Reverse search through input history |
Ctrl+O | Toggle verbose output |
Ctrl+B | Send current task to background |
Ctrl+T | Toggle task list |
Ctrl+F | Kill background agents (press twice) |
Shift+Tab / Alt+M | Cycle through modes (Normal → Auto-Accept → Plan) |
Alt+P | Switch model |
Alt+T | Toggle thinking |
Esc, Esc | Rewind to previous checkpoint |
Tab | Autocomplete file paths and commands |
Shift+Enter is the easiest, \ then Enter works in all terminals, and Option+Enter on macOS. You can also just paste multi-line text directly — Claude Code detects pastes and handles them correctly.Slash Commands
Type / to see the full list of slash commands. Here are the ones you’ll use most:
| Command | Description |
|---|---|
/help | Show help and available commands |
/resume | Resume the most recent conversation, or pick from a list |
/fork | Fork the current conversation into a new branch |
/clear | Clear conversation context and start fresh |
/model | Switch to a different Claude model |
/plan | Enter plan mode |
/diff | Show a diff of all changes made in this session |
/review | Ask Claude to review changes made so far |
/context | Show the current context window usage |
/cost | Show token usage and cost for this session |
/vim | Toggle vim keybindings for input |
/theme | Change the TUI colour theme |
/compact | Compress conversation context to free up space |
/resume is one of the most useful commands. Claude Code saves your conversation history, so you can close the TUI, go do something else, and come back right where you left off. It even shows you a list of recent conversations to pick from.Permission System
Claude Code uses a three-tier permission system that balances usefulness with safety:
- Read operations — Automatically allowed. Claude can read any file in your project without asking.
- Bash commands — Prompted on first use per command pattern. Once you approve
git status, it won’t ask again for that command in the same session. - Write operations — Prompted every time. Each file modification requires your explicit approval.
When Claude wants to do something that needs permission, it shows you exactly what it plans to do and waits for your approval. You can approve, deny, or approve for the rest of the session.
This system is configurable through settings.json — you can pre-approve specific tools and patterns so Claude doesn’t have to ask for routine operations. We’ll cover that in detail in CLAUDE.md and Settings.
File References with @
You can reference files directly in your prompts using @:
@src/auth/middleware.ts can you add rate limiting to this?This tells Claude to read that file and use it as context for your request. Tab completion works with @ — start typing a path and press Tab to autocomplete.
You can reference multiple files in a single prompt, and they’ll all be loaded as context before Claude starts working.
Bash Mode with !
Prefix any input with ! to run it as a shell command directly, without Claude’s involvement:
! git status
! npm test
! ls -la src/
This is handy for quick checks without leaving the TUI. The output is displayed inline and also becomes part of the conversation context, so Claude can see the results too.
Background Tasks
Working on something that’s going to take a while? Press Ctrl+B to send the current task to the background. Claude keeps working, and you get a notification when it’s done.
This is useful for long-running tasks like large refactors or comprehensive code reviews where you don’t need to watch every step. You can continue using your terminal for other things while Claude works.
Checkpoints and Rewind
Every time Claude makes changes to your files, it creates an automatic checkpoint. If something goes wrong, press Esc, Esc (double-tap Escape) to rewind to the previous checkpoint.
git checkout.Checkpoints work alongside git, not instead of it. They’re session-level undo for quick recovery. For anything you want to keep, commit it properly.
Vim Mode and Theming
If you’re a vim user, /vim toggles vim-style keybindings for the input area. Normal mode, insert mode, visual mode — the usual.
/theme lets you switch between colour themes for the TUI. It’s purely cosmetic but a nice touch if the default doesn’t suit your terminal’s colour scheme.
The current mode, model, and vim status are all shown in the status bar at the bottom of the TUI.
What’s Next
You now know how to navigate the Claude Code TUI, use its modes effectively, and take advantage of shortcuts and slash commands. The final guide in this series covers the configuration layer — how to teach Claude about your project with CLAUDE.md files and fine-tune its behaviour with settings.json.